
Space Photography Techniques – Space photography is a captivating pursuit combining the allure of exploring the night sky with the creativity and technical challenge of photography. As we gaze into the vastness of the cosmos, photographers aim to capture that sense of wonder through their lenses.
Advancements in camera technology and photography techniques have made it possible for both amateur and professional photographers to document celestial bodies and astronomic events with remarkable clarity. By mastering certain techniques and camera settings, we can translate the dark canvas of space into stunning images that reveal details often invisible to the naked eye.

To successfully photograph space, it’s crucial to appreciate the interplay between light, exposure, and equipment. An understanding of the basic principles of photography, such as the ‘500-rule’ for optimising shutter speed, can greatly enhance our ability to photograph the night sky. Use of a fast aperture and proper white balance settings can yield impressive results. Furthermore, developments in technology, from sophisticated tracking mounts to powerful post-processing software, empower us to overcome some of the inherent challenges of night sky photography, including light pollution and camera stability.
Before delving into equipment, it is essential for us to grasp that astrophotography necessitates precision and patience, as we are capturing subjects that are not only immensely distant but often faint and fleeting. Understanding the roles of camera types and the impact of lenses and filters is crucial to achieving stunning space photography.
DSLR Cameras:
Mirrorless Cameras:
Camera Body:
Lenses:
Filters:
In our quest for spectacular space imagery, we must balance our camera’s ISO settings, exposure time, and the use of appropriate lenses and filters. Whether we are using a high-end DSLR or a compact mirrorless model, it is our understanding of these fundamentals that will allow us to take full advantage of our equipment and capture the cosmos in all its glory. As space tourism continues to develop, websites such as SpaceVoyageVentures.com document the journey, illustrating the possibilities with images that were once beyond our reach.
Astrophotography requires a synergy of technical skills and aesthetic sensitivity, enabling us to capture the magnificence of the cosmos through our lenses. Key aspects involve precise equipment setup, optimised exposure settings, and a thorough understanding of the celestial wavelengths we aim to record.
Integrating telescopes with our cameras is fundamental for successful astrophotography. The quality of the telescope’s optics determines how clearly we can image distant astronomical objects. To minimise light pollution, we opt for telescopes fitted with narrowband filters that allow only specific wavelengths to pass through, thus enhancing the contrast of our target. When aligning our telescopes, we meticulously adjust the mounts, ensuring that the Earth’s rotation doesn’t lead to star trails during long exposures unless intended for artistic effect.
Mastering exposure techniques is paramount in astrophotography. We utilise long exposures to collect as much light as possible, which can wonderfully detail faint objects like nebulae and galaxies. However, the art lies in balancing exposure times to prevent washing out brighter objects. The “500 Rule” suggests a maximum exposure time by dividing 500 by the focal length of the lens to avoid star trailing. Yet, trial and refinement specific to our sensor’s capabilities often yield the best results. Meanwhile, stacking multiple exposures can reduce noise and improve the image quality.
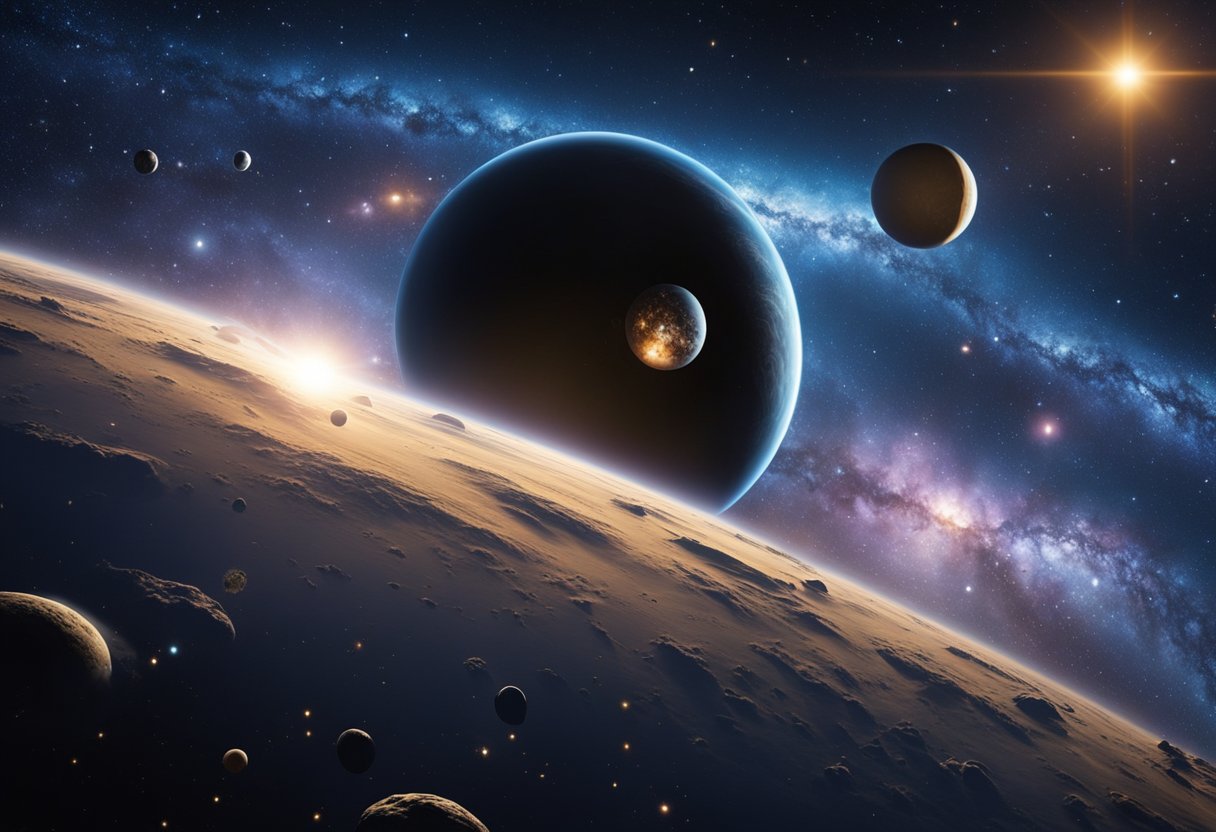
Our understanding of wavelengths and their behaviour is crucial when capturing the vast array of colours in space imagery. Each celestial body emits light at different wavelengths, which we must interpret correctly to produce accurate and striking images. Cameras equipped with CCD or CMOS sensors are sensitive to various wavelengths, but modifications can expand their range further. Sometimes, infrared or ultraviolet wavelengths might be targeted to reveal features invisible to the naked eye. Balancing these technical considerations with aesthetic vision allows us to present the cosmos in its true splendour.
Capturing celestial objects requires patience, precision, and an understanding of astronomical events. Whether we’re photographing planets or exploring the depths of deep sky objects, different techniques are essential to producing stellar images.
When it comes to planetary photography, detail is king. We use long focal length telescopes to magnify subjects like Jupiter or Mars. Coupling these telescopes with a technique called planetary imaging allows us to record fine details. We often take multiple images over time and stack them to increase clarity and reduce noise, hence capturing striking details of the moon and planets.
For deep sky photography, our objective is to highlight the wonders far beyond our solar system—stars, galaxies, and nebulae. This requires long-exposure times to gather the faint light of distant objects. Wide-field telescopes are usually paired with cameras modified for astrophotography to capture the vast canvas of the night sky. Tracking mounts are key to follow the stars’ apparent movement, maintaining sharpness in our images.
By applying these specialised techniques, we’re not just taking pictures; we’re chronicling the beauty of our universe. For those of us intrigued by the prospect of space tourism, keeping an eye on ventures like SpaceVoyageVentures.com can be a great source of inspiration, anticipating the time when we can capture these celestial spectacles in person.
Capturing the night sky in all its splendour requires overcoming some specific challenges. We’ll explore how to deal with motion, reduce noise, and address light pollution effectively.
When photographing the night sky, the Earth’s rotation causes stars to move across the sky, resulting in star trails. To counter this, a tripod is essential for stability. For prolonged exposures where the motion becomes more pronounced, we utilise a star tracker. This device aligns with the Earth’s axis of rotation and moves the camera at the same speed as the stars, thus keeping them sharp in our images. Lucky Imaging techniques can also be employed; multiple short exposures are taken and the sharpest ones are combined to create a clear image.
Noise is a common issue in night photography due to high ISO settings needed for low light conditions. To mitigate noise, we suggest shooting in RAW format to gain more control over noise reduction in post-processing. Furthermore, using the camera’s in-built noise reduction feature or stacking multiple shots to average out the noise can yield cleaner results.
Light pollution washes out the clarity of the night sky, making it a significant hurdle in astrophotography. To combat this, we scout locations far from urban centres where the night sky is darkest. Moreover, certain filters can help us reduce the unwanted wavelengths of light that contribute to light pollution. We also plan our shoots during the new moon phase when less moonlight means darker skies.
To capture the majesty of the cosmos, we need to optimise our camera settings meticulously. Shooting in manual mode and fine-tuning exposure and ISO are fundamental steps to getting awe-inspiring images.
In manual mode, we exert full control over our camera settings, which is essential for space imaging. By selecting manual mode, we disable any autofocus systems that may struggle under the low light conditions of the night sky. Instead, we use manual focusing to ensure that stars and other celestial objects are crisp and clear. When using a DSLR or mirrorless camera, zoom into a bright star or planet using your live view and adjust focus until it’s as small and well-defined as possible.
For exposure time, we aim for a balance that captures enough light without star trails. A general guideline is to use the “500 Rule,” which suggests that our maximum exposure time in seconds should be 500 divided by the focal length of the lens. This rule helps prevent star trails due to the Earth’s rotation.
The ISO setting determines our sensor’s sensitivity to light. A higher ISO can capture more light but also increases noise, which can affect image quality. For space photography, we typically start with an ISO range of 800 to 3200 and adjust based on the image’s brightness and noise levels. Larger sensors found in many mirrorless cameras tend to have better noise performance at high ISOs compared to smaller sensors.
It’s also important to use the maximum aperture of your lens (the smallest f-number) to allow as much light as possible to reach the sensor without compromising the sharpness of the stars, which can be affected by lens aberrations at very wide apertures. We often find a sweet spot a couple of f-stops from the maximum.
In the realm of space photography, post-processing is a critical step that transforms raw images captured by digital cameras aboard spacecraft or astronomical observatories into striking visuals. Through sophisticated editing software and techniques, coupled with meticulous methods such as stacking and compositing, we aid in not only enhancing the details in these images but also in reducing noise that is inherent to space photography.
Our choice of editing software fundamentally shapes the final appearance of space images. To bring out the finest details captured by our digital cameras, we use programmes like Adobe Photoshop® and Lightroom®, which are industry standards for image enhancement. These tools allow us to adjust parameters such as exposure, contrast, and colour balance to reveal the subtle nuances of celestial bodies. For instance, we leverage NASA-honed techniques to process images from the Hubble Space Telescope, ensuring that we present the most accurate and awe-inspiring depictions of the cosmos.
To handle the unique challenges of space imagery, such as the high contrast between the extreme brightness of celestial objects and the pitch-black of space, non-linear adjustments are often performed. This allows us to maintain detail in both highlights and shadows. Moreover, we remove artefacts attributable to the camera’s sensor by incorporating dark frames – images taken with the shutter closed – to subtract the electronic noise, and bias frames to account for the sensor readout noise.
In the pursuit of unrivalled clarity, stacking and compositing are techniques we frequently employ. Stacking involves layering multiple images of the same subject taken in rapid succession. This method is crucial to reduce random noise and enhance signal-to-noise ratio. By using software like StarStaX or DeepSkyStacker, we stack images to average out the noise and reveal the underlying detail of faint objects such as nebulae or distant galaxies, which otherwise might be indiscernible.
Compositing is another tool in our arsenal; here we combine different images to create a comprehensive picture of the scene. It’s particularly useful in capturing both the subtlety of a dim comet’s tail along with its bright core. For example, we may overlay a series of short-exposure photos to capture sharp stars and a long-exposure image to showcase the delicate structures of a nebula. This technique also proves invaluable when producing images for SpaceVoyageVentures.com, where we aim to showcase the spectacular potential of space tourism destinations with the most vivid and detailed visuals.
We find that with advancements in technology, capturing the marvels of the night sky is now within reach for anyone with a smartphone. Let’s explore how we can utilise our mobile devices and applications to engage in astrophotography.
For successful mobile astrophotography, it’s critical to understand your smartphone’s camera capabilities. Most modern smartphones come equipped with advanced sensors and the ability to manually adjust settings such as ISO, exposure, and focus. These can be further enhanced with the use of apps designed for astrophotography, allowing for long exposure photography, which is essential for capturing the stars.
To ensure sharp images, we must mount our phones on a tripod and, if possible, use an external shutter release or the built-in timer to avoid shaking the camera when we press the capture button. Long exposure can also be key for capturing dim stars or celestial events. It’s important to experiment with various settings, as the results can be quite dependent on the conditions and the specific capabilities of our smartphones.
Astrophotography with smartphones requires patience and practice, but the results can be truly rewarding. We suggest starting with brighter objects, such as the Moon, and progressing to more challenging subjects like constellations or the Milky Way as we become more comfortable with the techniques and settings.
In space photography, the precision of tracking and stabilisation gear is imperative for capturing clear and detailed images. These technologies counteract the motion of the Earth and other disturbances that can result in tracking errors.
Equatorial mounts align with the Earth’s axis, simplifying the tracking of celestial objects as they move across the sky. We primarily employ these mounts to follow stars’ apparent motion, allowing for prolonged exposure times without the stars trailing. The mount’s two axes, Right Ascension (RA) and Declination (DEC), coordinate to reflect the Earth’s rotation accurately.
Star trackers are advanced navigation instruments we use to determine the orientation of spacecraft by observing star positions. We optimise these devices to detect stars even amidst the noise from other light sources. The tracker’s ability to recognise star patterns enables us to maintain precise alignment between our photography gear and target celestial objects. A quality star tracker can significantly reduce tracking errors, ensuring we acquire sharp images even over extended exposure times.
In recent years, we’ve witnessed significant breakthroughs in space photography technology, enhancing the capabilities of both professional astronomers and amateur stargazers.
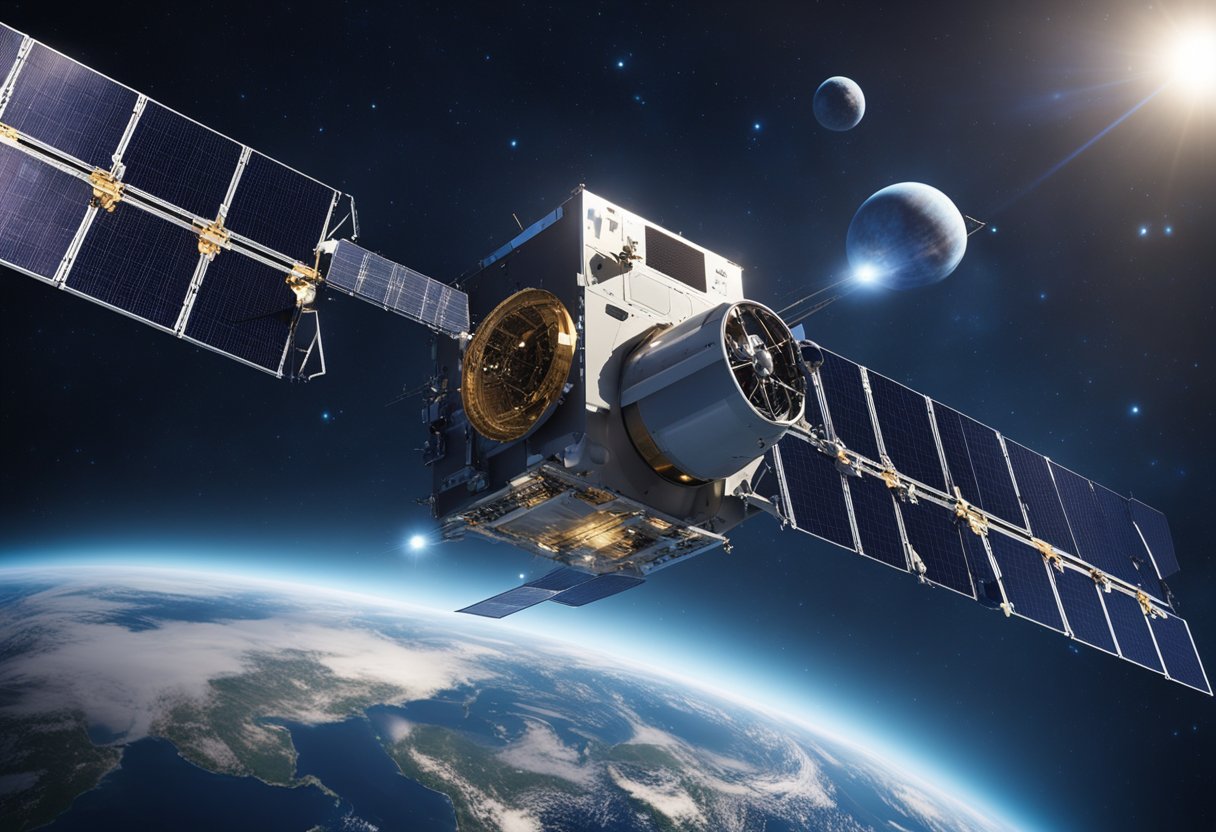
Telescope construct has advanced substantially. The famed Hubble Space Telescope has served as a hallmark for the scientific research community, but newer designs are broadening our cosmic horizons. Consider the James Webb Space Telescope, due to its deployment, which is set to exceed Hubble’s parameters with a more substantial mirror array and improved sensitivity.
Upgrading from a standard wide-angle lens to a telephoto lens, for instance, allows scientists to capture details at far greater distances.
In terms of camera technologies, advancements have been just as revolutionary. The Spitzer Space Telescope and the Chandra X-ray Observatory have already demonstrated the importance of diversifying the light spectrum in our observational toolkit. Moving beyond visible light, these telescopes can image in infrared and x-ray wavelengths, revealing otherwise hidden aspects of the cosmos.
The incorporation of teleconverters enhance lens magnification without sacrificing portability or image quality, while modern optics construction continues to reduce chromatic aberration, thereby improving the clarity and fidelity of space photographs.
Our pursuit of stellar photography not only unveils the enigmatic beauty of the universe but also solidifies the foundation for burgeoning industries, such as those detailed on SpaceVoyageVentures.com. Here we’re seeing an alignment between scientific exploration and public interest in space, which could have promising implications for space tourism.
We understand that engaging with like-minded individuals can significantly enhance our knowledge and experience in space photography. It’s where we share tips on the best cameras for astrophotography, discuss celestial events like the total eclipse of the sun, and learn about upcoming phenomena such as solar eclipses and constellations sightings.
The internet is a goldmine for space enthusiasts, offering a plethora of space forums and social media platforms where we can discuss our hobby. On these platforms, amateur astronomers and seasoned professionals alike exchange knowledge, images, and experiences.
Events are crucial to our community. They offer us opportunities to meet experts and peers in person and engage in meaningful networking.
Besides formal events, a visit to platforms like SpaceVoyageVentures.com opens us up to the exciting realm of space tourism, blending our love for photography with the adventure of travel.
Exploring the cosmos through photography has profoundly impacted our understanding of the universe. We’ve moved from the rudimentary imagings of the mid-19th century to capturing the vivid grandeur of space phenomena.
In the mid-19th century, we made steps to intertwine photography and astronomy, marking the birth of space photography. It was a period defined by amateur astronomers and experimenters eager to document celestial events. The first success in this field involved capturing a total lunar eclipse.
Space photography has evolved significantly since its inception. One of the earliest and most notable achievements was photographing the Andromeda Galaxy. This feat expanded our understanding of the universe and underscored the potential of visible light photography in capturing distant cosmic wonders. These images stood not only as scientific breakthroughs but also as objects of profound wonder.
Amateur astronomers, often referred to as “gentleman scientists”, initially pioneered astrophotography. Their early contribution laid the groundwork for this niche of science to flourish into a discipline that consistently feeds our curiosity with astonishing astronomical photos.
Our efforts continue today, as we document celestial bodies and phenomena with increasing detail and clarity. One such initiative is SpaceVoyageVentures.com, a platform illustrating the past, present, and future of space exploration and tourism, kindling the dream of journeying among the stars.
Within this section, we explore common inquiries surrounding the techniques and equipment essential for space photography. We aim to provide clarity for enthusiasts looking to capture the cosmic landscape.
To capture high-quality images of celestial bodies, one requires a robust telescope with a tracking mount, a camera capable of long exposures, and ideally, a remote shutter release. These tools enable us to photograph stars, planets, and deep-sky objects effectively.
For astrophotography, we recommend using a wide aperture (e.g., f/2.8), a high ISO setting (although this may vary depending on the noise performance of the camera), and a long shutter speed (but not too long to avoid star trails). It’s crucial to experiment with these settings to find the perfect balance for the celestial object we are capturing.
Effectively using negative space can involve composing the shot with vast areas of emptiness, which accentuates the subject and can evoke emotions of isolation or tranquillity. It’s a powerful tool that allows the main subject to stand out, creating a more impactful image.
The rule of space in astronomical photography pertains to the direction that a celestial body appears to be moving in the frame. Giving the subject space to ‘move into’ leads to a more dynamic composition, suggesting motion even in the stillness of space.
To emphasise the subject in positive space, we might use techniques such as framing the subject against a contrasting background, incorporating leading lines that direct the viewer’s eye to the subject, or illuminating the subject with light to differentiate it from the surrounding space.
For beginners, we recommend starting with simple night sky shots to practise capturing stars. Progress to using a tracking mount for longer exposures and then try photographing the Moon, which doesn’t require specialized equipment. Joining astrophotography communities and practising regularly will greatly enhance our skills.