How to Start an Astrophotography Hobby: Astrophotography can seem daunting to beginners, a collision of art and science that demands both technical skill and creative vision. Yet, the journey from novice to avid stargazer can be deeply rewarding, filled with moments of awe as the cosmos is captured through the lens. For those passionate about the night sky, astrophotography is an accessible hobby that taps into our fascination with the universe and offers a unique way to document its splendor. With the right equipment and a willingness to learn, anyone can take stunning images of starry landscapes and celestial bodies.

Choosing the correct gear is the beginners’ first step into astrophotography. Entry-level DSLR cameras and tripods are often sufficient to start taking impressive photos of the night sky. Learning camera settings and composition techniques is crucial, and there’s a distinct learning curve as enthusiasts understand how to capture the wonder of the stars. Obstacles such as celestial movement and light pollution challenge photographers, but overcoming these enhances one’s skills. Post-processing is the final touch that brings out the best in the cosmic captures. Additionally, becoming part of an astrophotography community can provide valuable advice, support, and contribute to the enrichment of the hobby.
When starting in astrophotography, picking the right gear is just as crucial as understanding the celestial subject you intend to capture. Making informed choices on equipment can vastly improve your photography results and enhance your overall stargazing experience.
Selecting a camera suitable for astrophotography is foundational. Traditional DSLRs are favored for their optical viewfinders and lengthy battery life. Meanwhile, mirrorless cameras offer advantages such as reduced weight and size, making them more portable for fieldwork. Both camera types can achieve excellent results in astrophotography, with the choice often boiling down to personal preference and the types of celestial phenomena you aim to photograph.
Telescopes act as the primary tool for magnifying distant space objects. Apochromatic refractor telescopes are compact and celebrated for their ability to produce crisp images of deep-sky objects. On the lens front, a wide-angle lens is essential for capturing expansive star fields, whereas a telephoto lens allows for detailed shots of the moon and planets. It’s vital to match your lens with your intended astrophotography targets for optimal imaging.
Stable support from a sturdy tripod is non-negotiable for clear astrophotography shots, especially during long exposure captures. A star tracker is an invaluable piece of astrophotography gear that compensates for Earth’s rotation, keeping the camera steady relative to the stars, resulting in sharp images of the night sky without trailing. Both pieces of equipment remarkably improve the quality and clarity of astrophotography endeavors.
Before venturing into the night sky with your camera, understanding and mastering certain camera settings is pivotal. The quality of astrophotography images heavily relies on the intricate balance of ISO, aperture, and shutter speed combined with the photographer’s ability to manage noise and focus.
ISO setting affects the camera sensor’s sensitivity to light. In astrophotography, a higher ISO allows for capturing fainter stars but increases the graininess, or noise, in the image. Use the lowest ISO that still allows for a proper exposure to maintain image quality.
Aperture controls the amount of light entering through the lens. A wide aperture (indicated by a lower f-number, such as f/2.8) is ideal as it permits more light to reach the sensor, making it easier to capture dim celestial objects.
Shutter speed determines the duration the camera sensor is exposed to light. Long exposures are necessary to record enough light from distant objects, but overly long exposures can lead to trailing stars due to the Earth’s rotation.
Long exposure times are essential in astrophotography to allow enough light to be captured. However, longer exposure times can also amplify the noise, especially at high ISO settings. To maintain image quality, one must find the sweet spot between exposure time and acceptable noise levels. This often involves taking multiple shorter exposures and combining them in post-processing.
For sharp images, precise focus on the stars is crucial. Most astrophotographers use manual focus to achieve this due to the limitations of autofocus in low light conditions. Zooming in on a bright star using the camera’s live view function can help fine-tune the focus. Additionally, using a lens with a wide aperture and a focal length appropriate for your target can aid in capturing well-defined stars.
Getting these camera settings right is key for high-quality astrophotography, requiring both knowledge and practice to perfect.

When embarking on an astrophotography journey, composing your shots is as important as the gear you utilize. Understanding how to frame the night sky, incorporate landscape elements, and capture deep-sky objects will greatly enhance the visual impact of your photographs.
Choosing a compelling field of view is the first step in composing any astrophotograph. One should consider what celestial phenomena they aim to highlight. Whether it’s the sprawling Milky Way or a specific constellation, photographers must decide how to position these elements within the frame to create a balanced and captivating image.
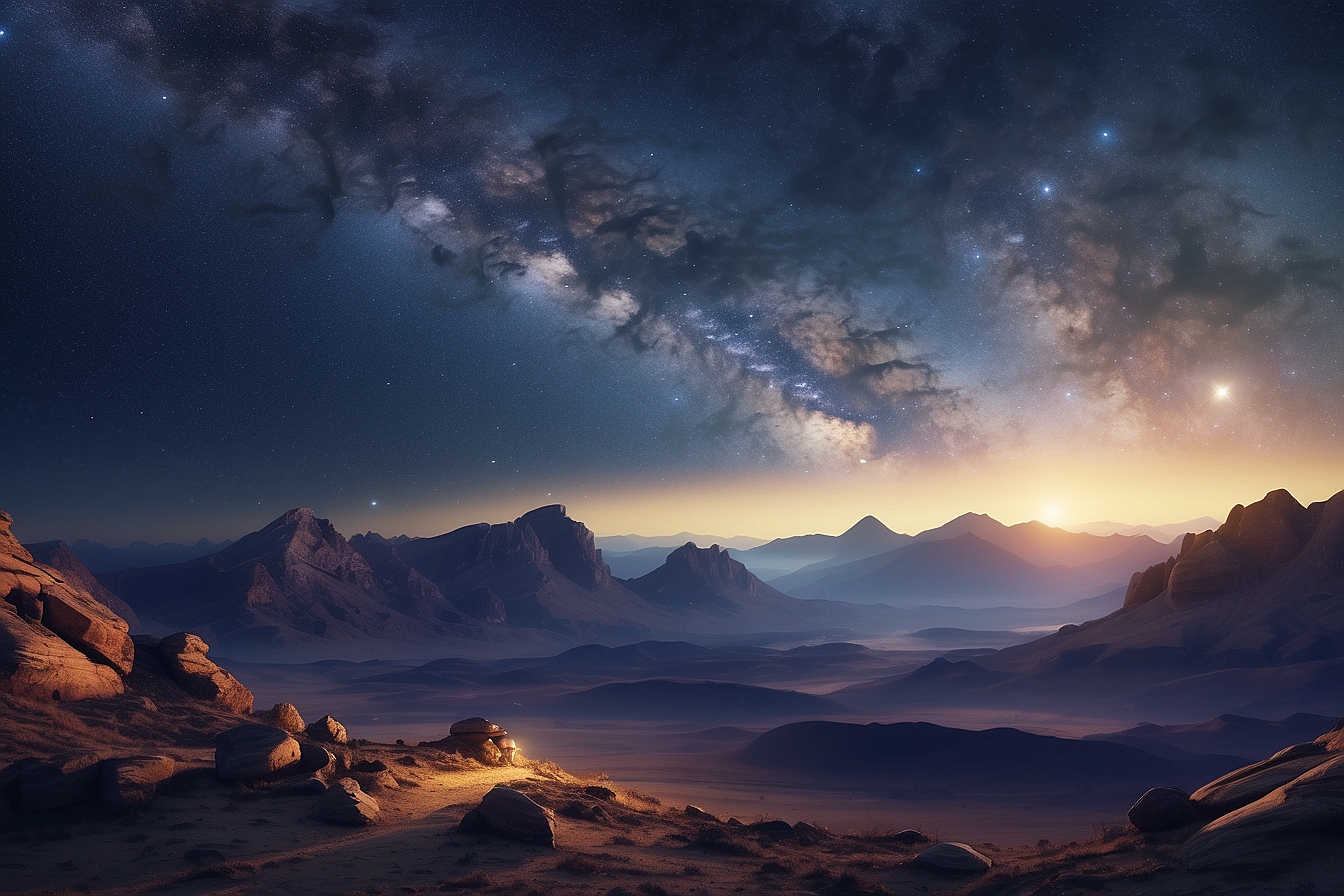
Landscape astrophotography benefits from the inclusion of terrestrial features, which can add context and interest to the celestial display. By strategically placing mountains, trees, or buildings in the composition, photographers can achieve a sense of scale and enhance the story the night sky tells. Introducing landscape elements should complement, not compete with, the stars above.
For those interested in photographing galaxies, nebulae, and star clusters, understanding the subtleties of long exposures and tracking movement is crucial. These deep-sky objects require careful consideration of exposure time to pull their faint light into a distinct image. Telescopic lenses and specific camera settings are often required to isolate and magnify these distant subjects.

Capturing the beauty of the night sky through astrophotography requires an understanding of how celestial bodies move. From the rotation of the stars to the orbits of planets, photographers must consider these movements to create stunning images.
Stellar motion is the apparent movement of stars across the sky, a phenomenon that’s actually due to Earth’s rotation. To capture this, astrophotographers use an equatorial mount, which aligns with Earth’s axis and rotates the camera at the same speed as the stars. This technique allows for clear, pinpoint images of stars or, with long exposures, creates beautiful star trails that reflect the stars’ paths. Minimizing light pollution is crucial for clear star trail photography, which is often best achieved in remote areas away from city lights.
When photographing the moon and planets, understanding the moon phase and planetary positions is essential. Clear details are best captured when the moon is partially lit, as the contrast between light and dark areas reveals craters and terrain. Polar alignment is less critical here compared to deep-sky photography, but tracking mounts can still benefit clarity. Capturing the Milky Way or specific planets requires planning for their position in the sky and using appropriate camera settings to deal with factors such as brightness and movement.

Starting out in astrophotography presents certain challenges, from dealing with light pollution to overcoming gear limitations and environmental factors. These challenges, however, can be managed successfully with practical strategies and a supportive community.
Light pollution is a significant hurdle faced by astrophotographers, as it greatly diminishes the visibility of celestial objects. To contend with this, one should:
Overcoming gear and environmental limitations requires a blend of patience and ingenuity. Here are some suggestions on how to proceed:
Astrophotography captures the wonders of the night sky, but it’s the artful practice of post-processing that truly brings these images to life. This critical step transforms raw photos into spectacular glimpses of the cosmos, leveraging software and techniques to enhance clarity, reduce grain, and showcase celestial objects like the Milky Way in their full glory.
Initially, photographers must understand that images of the night sky often require adjustments to reveal their hidden details. This involves correcting color balance, enhancing contrast, and bringing out faint stars. One begins with the raw image data and progressively refines it, mitigating issues such as light pollution or sensor noise, which may mask the delicate structures of nebulae or galaxies.
A multitude of software options exists for astrophotographers, ranging from specialized stacking programs to comprehensive editing suites. Stacking is a foundational technique where multiple exposures are combined to improve signal-to-noise ratio, effectively reducing grain. Programs like DeepSkyStacker are designed specifically for this and serve as a first step before further processing in more advanced software such as Adobe Photoshop or PixInsight, which offer a robust toolkit for detailed correction and refinement.
Once an image stack is produced, one can begin the process of refining the image. Techniques such as levels and curves adjustments, sharpening, and noise reduction are key. Astrophotographers carefully balance these to ensure that celestial bodies stand out with clarity, and that the image has visual impact without introducing artifacts or compromising the natural aesthetics of the night sky. This final phase of the image process can be as much an artistic expression as it is a technical endeavor.
Joining an astrophotography community can greatly enhance one’s experience and learning curve in this hobby. These communities provide numerous resources for both novice and experienced photographers, and serve as platforms for sharing work, getting feedback, and receiving valuable advice.
When one is new to astrophotography, the amount of information to absorb can be overwhelming. By participating in online forums or local clubs, beginners can connect with others to help flatten the daunting learning curve. Enthusiasts share techniques, talk about gear, plan outings, and much more.
Online Forums and Social Media Groups:
AstroBackyard
Skies & Scopes
Astro Photons
How to Engage:
Benefits of Joining:
By engaging with the astrophotography community, individuals stand to benefit from collective wisdom, improve their techniques, and possibly forge lasting friendships within the passionate world of star photography.
In this section, clear and concise answers to common queries about starting in astrophotography are provided, demystifying the initial steps for newcomers to the hobby.
A beginner interested in astrophotography must consider a stable tripod, a camera capable of manual control, and a wide-angle lens with a fast aperture. Optionally, a small star tracker can greatly improve the quality of long-exposure astrophotos.
Yes, smartphones with advanced camera systems can be used for astrophotography through the use of specific apps designed for long exposure photography and by attaching the phone to a stable tripod. Using add-on lenses or telescopes can also enhance the results.
A digital single-lens reflex (DSLR) or mirrorless camera with manual controls and the ability to shoot in RAW format is recommended. These cameras offer greater flexibility in settings and higher image quality than compact cameras or smartphones.
Amateur astrophotographers may benefit from computerized go-to telescopes that can automatically find and track celestial objects, which are often paired with a compatible camera for capturing images.
The budget can vary widely, dependent on the equipment chosen. It’s wise to start with the basic gear, such as a camera and a tripod, and then gradually invest in more specialized equipment like lenses, star trackers, or telescopes.
Consider starting with equipment you already own, such as a camera or smartphone, and invest in a quality tripod. Purchasing second-hand gear or choosing multi-purpose equipment that can also be used for daytime photography may also help reduce costs.