Astrophotography opens a window to the cosmos, allowing us to capture the beauty and immensity of the universe from our own corner of the galaxy. Transforming the night sky into a canvas dotted with stars, planets, and galaxies, astrophotography is an art that combines patience, skill, and the right equipment. It is a hobby that offers a unique blend of artistic expression and scientific inquiry, inviting photographers to record celestial events and distant celestial bodies with stunning clarity.

With advancements in camera technology and the increased accessibility of high-quality equipment, more enthusiasts are able to pursue astrophotography than ever before. Whether one uses a dedicated astronomy camera, a DSLR, or even a smartphone, the essential principles remain the same: control of exposure, understanding of celestial mechanics, and a keen eye for composition. Beginners and seasoned photographers alike find joy in capturing the ephemeral beauty of a meteor shower, the delicate patterns of constellations, or the silent majesty of the Milky Way.
Astrophotography requires a combination of the right equipment and technical knowledge to effectively capture the vastness of the night sky. From choosing the appropriate camera to understanding camera settings, each element plays a crucial role in the final image.
For astrophotography, the choice between a DSLR and a mirrorless camera is dictated by one’s preference for traditional optical viewfinders or electronic displays. Both should have a good camera sensor capable of capturing low light scenes with minimal noise.
The lens choice is significant in astrophotography. A wide-angle lens is preferred for capturing expansive night skies, while a fast lens with a wide aperture (like f/2.8) collects more light, making it suitable for darker conditions. Focal length also influences the field of view.
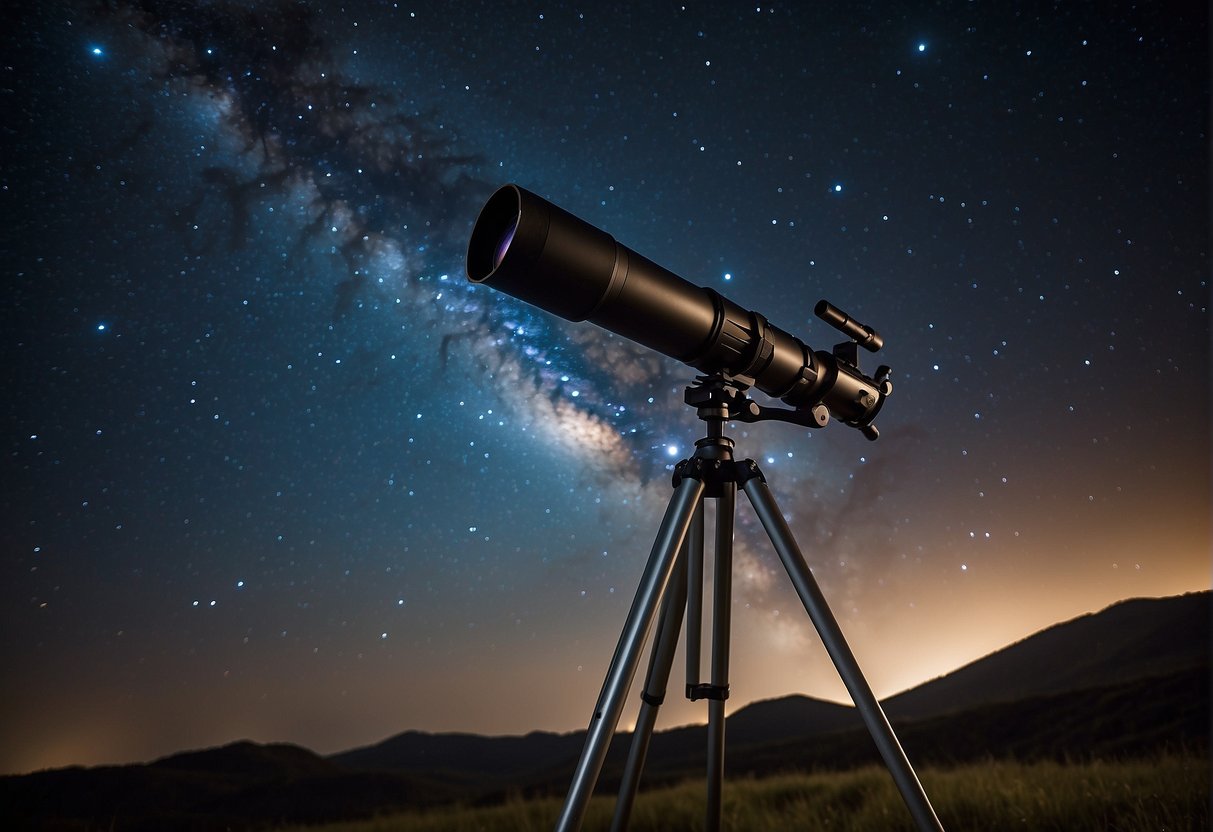
A sturdy tripod is non-negotiable to avoid camera shake during long exposures. When using longer lenses, a weightier tripod will provide additional stability against the wind.
An intervalometer or a remote shutter release allows for precise control over exposure timing, while a laptop can be useful for image review and storage in the field.
Important accessories include headlamps with a red light mode to preserve night vision, extra batteries, and ample memory cards.
Knowledge of manual mode, ISO setting, shutter speed, and aperture is crucial. Adjust the white balance to avoid color distortion, and shoot in RAW format for higher quality post-processing.
Monitoring the weather forecast and moon phases, with dark skies and the new moon being optimal conditions. Astronomy software like Stellarium can aid in planning and identifying celestial objects.
Experimenting with varying ISO settings, shutter speeds, and aperture values will yield the best results for different celestial events and objects.
Always respect the environment and observe guidelines when in public or protected areas. A flashlight or headlamp with red light mode keeps safety in check without disturbing others or wildlife.
Start with the basics: understand your camera settings, practice focusing manually, and build patience. Review astrophotography tips from credible sources and learn through practice.
When venturing into astrophotography, enthusiasts often have a host of questions. This section addresses common queries with straightforward advice to help beginners capture the night sky effectively.
For beginners, a stable tripod, a camera capable of manual mode with good high ISO performance, and a wide-angle lens with a fast aperture (such as f/2.8 or lower) are key. A remote shutter release can also be valuable to prevent camera shake during long exposures.
To capture clear images of the night sky, one should start with setting the aperture to the widest setting (lowest f-number), use a slow shutter speed (starting from 5 to 30 seconds), and adjust the ISO between 800 to 3200 depending on ambient light and desired exposure. Long exposures on a Guide to Astrophotography + 8 PRO Night Sky Tips – Shotkit.
Capturing the night sky using a smartphone requires a phone with manual camera capabilities or a dedicated astrophotography app. Using a tripod is essential to stabilize the phone, and setting a high ISO and long exposure time will help capture more light from the stars.
The 500 rule is a guideline to minimize star trails in astrophotography. It suggests setting the maximum shutter speed by dividing 500 by the focal length of the lens. For example, with a 20mm lens, one would use a 25-second exposure (500/20 = 25).
While the optimal ISO setting can vary depending on the camera, a general rule is to begin with ISO 1600 to 3200 for star photography. One should always check the camera’s results for noise and adjust accordingly, finding a balance between brightness and image quality.
Yes, there are several apps designed to help with astrophotography. These include apps for planning when to shoot based on lunar cycles, weather, and dark sky locations, as well as apps that provide live view magnification for precise focusing on stars. 20 Most Asked Questions By Beginner Astrophotographers – Night Sky Pix.